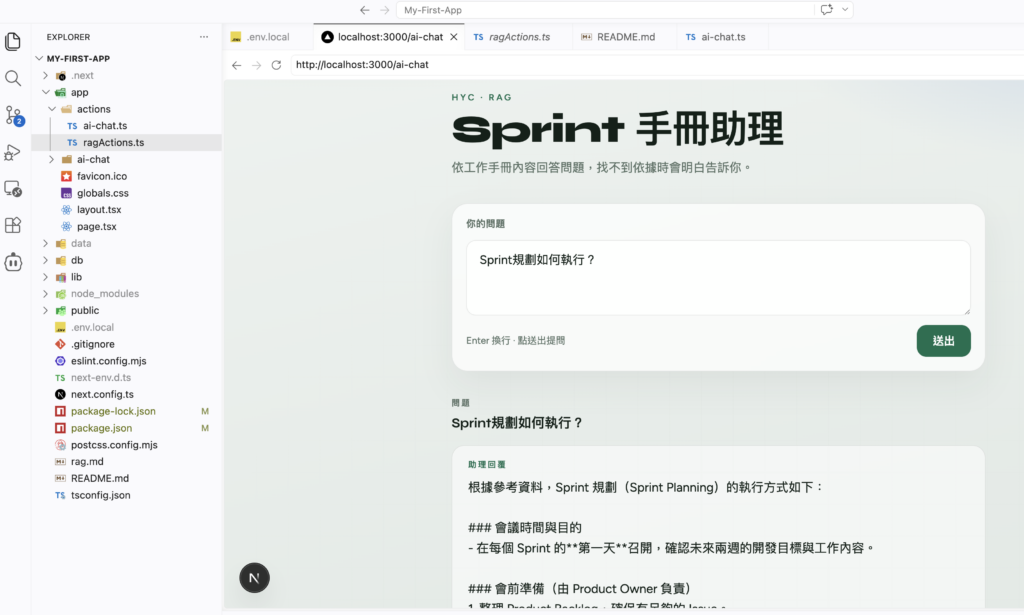
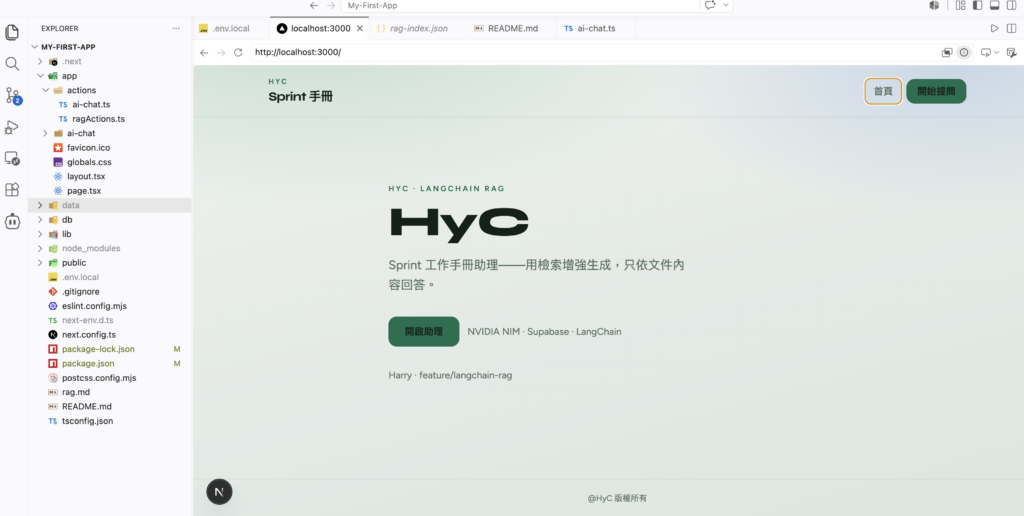
8. 在 Next.js 中實現 RAG 透過Nvidia NIM & Supabase & Langchain
一、Next.js 串接 LLM
技術文件
https://hackmd.io/@HyC-1029/r1I7wY7Efg
二、創建專案
在桌面創建空資料夾後,用VSCode開啟該資料夾,並開啟終端機:
# 1. 初始化自己的專案
git init
git add .
git commit -m "Init"Code language: PHP (php)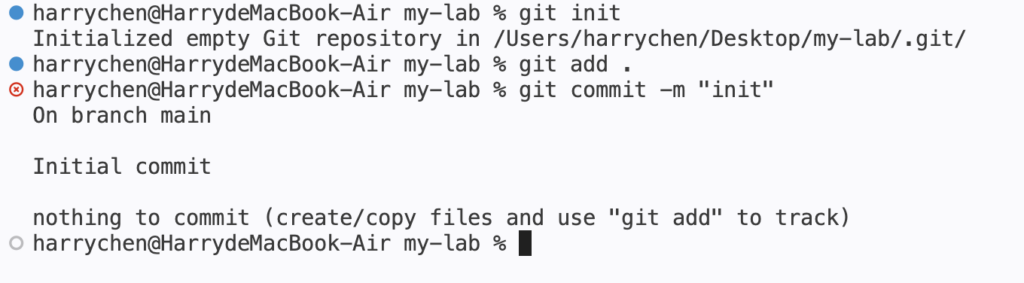
2.1 將老師設為remote
# 2. 將老師的課程倉庫新增為一個遠端來源 (命名為 teacher)
git remote add teacher https://github.com/Chen11111112/RAG-lab.git

# 3. 把老師的進度拉下來 (但還沒合併)
git fetch teacher

# 4. 將想要的教學分支合併進來 (例如要拉取第一階段)
git merge teacher/starter --allow-unrelated-historiesCode language: PHP (php)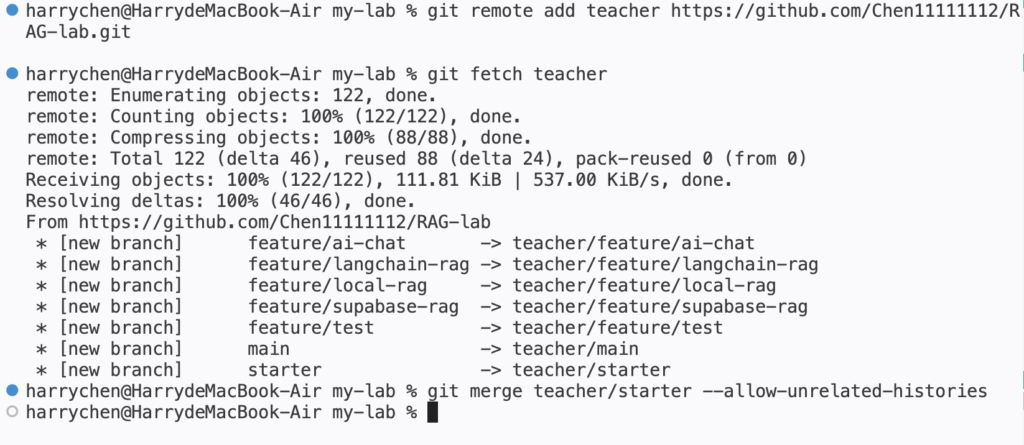
2.2 設定origin遠端為自己的repo
在自己的GitHub創建新Repo,取名為 My-RAG-Lab (確保Add README選項為 off),這樣你自己做的個人註解就能存在你自己的 repo 中了!
git remote add origin https://github.com/你的 GitHub ID/my-rag-lab.git
git add .
git commit -m "edit README"
git branch -M main
git push -u origin main

# 可能會要登入
git config --global user.name "學生名字"
git config --global user.email "學生的Email"Code language: PHP (php)
2.3 同步課程更新
# 切換分支前先儲存
git add .
git commit -m "edit README"

# 切換分支
git checkout teacher/feature/local-ragCode language: PHP (php)三、啟動專案
- 用管理員身份開啟 PowerShell 執行 Set-ExecutionPolicy RemoteSigned
- 在終端機執行 npm i
- 建立 .env.local 並貼上 Nvidia NIM API Key
- npm run dev前往localhost:3000
四、執行結果
starter 分支執行結果
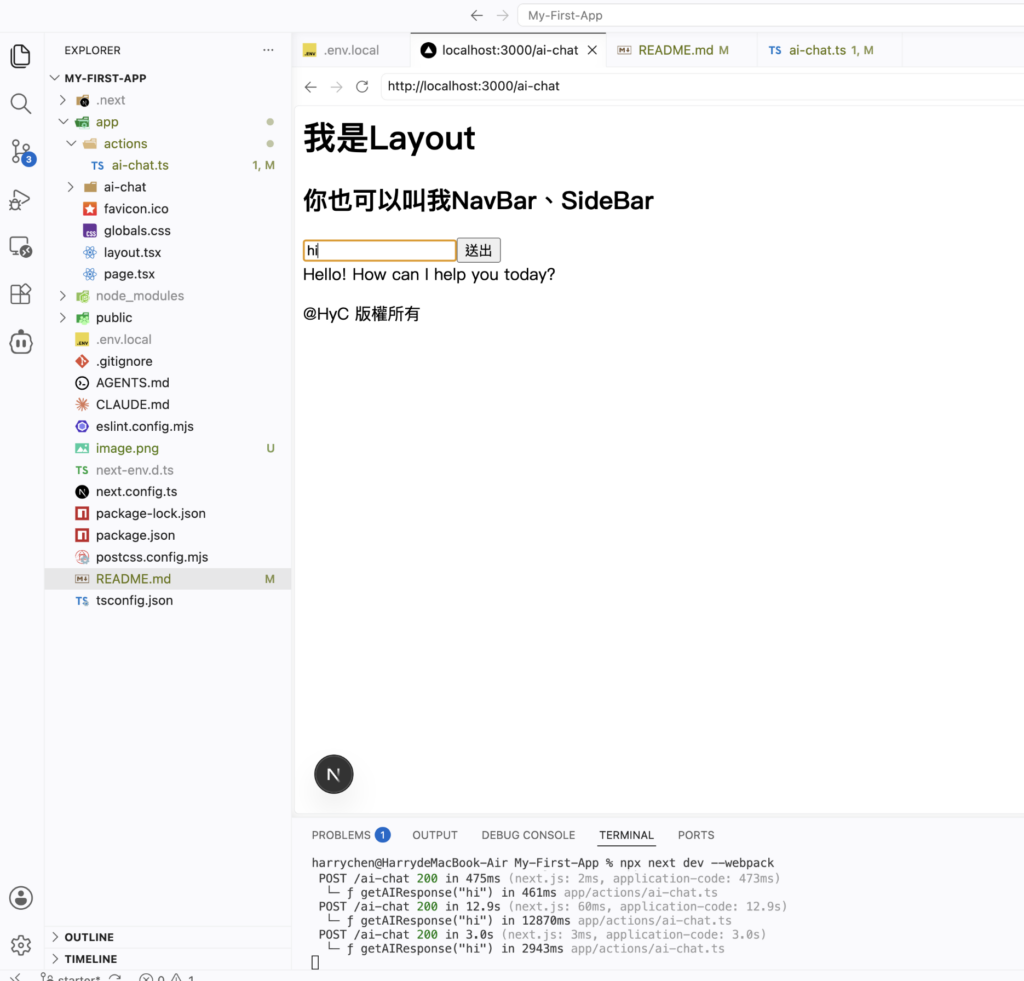
Local-rag
feature/local-rag 分支 執行結果
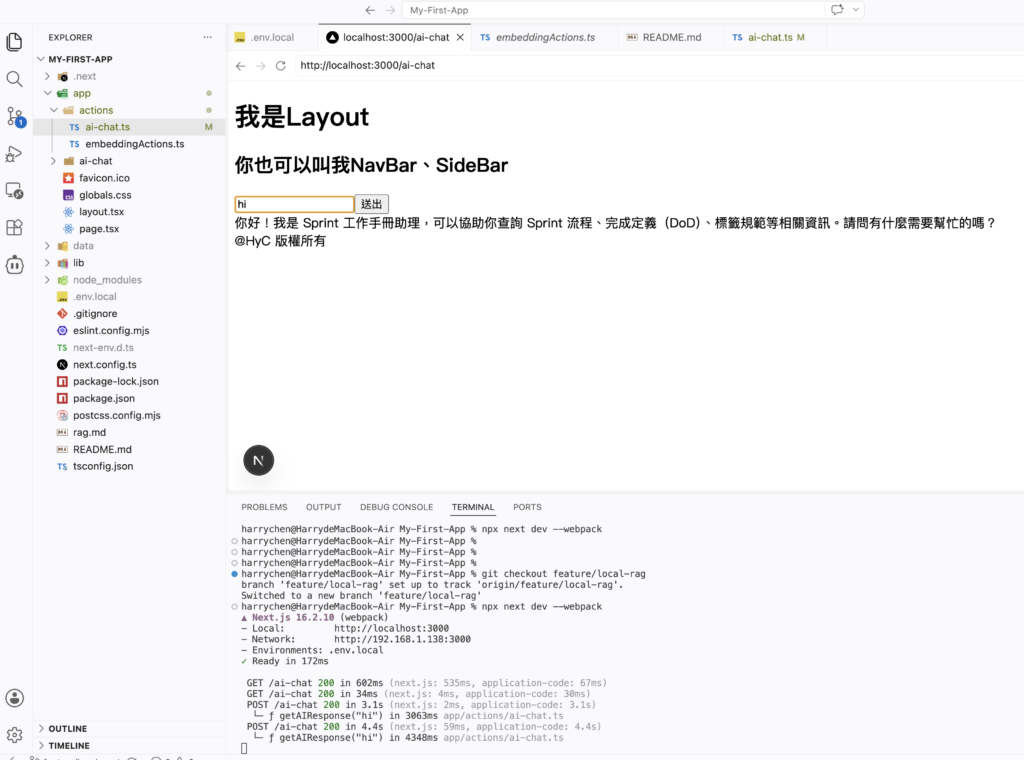
Supabase-rag
npm install @supabase/supabase-js
Code language: CSS (css)
feature/supabase-rag 分支執行結果
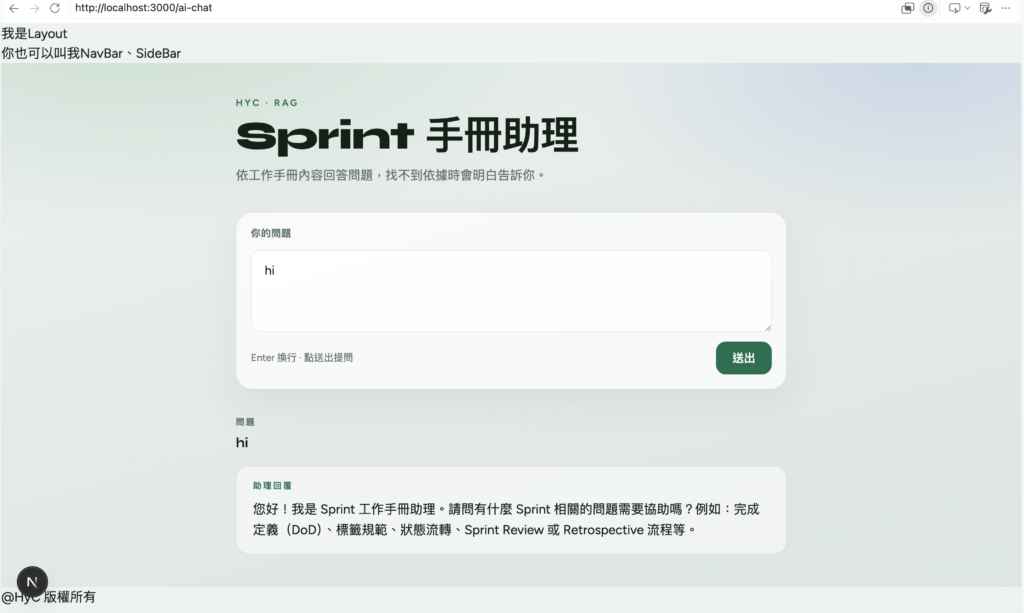
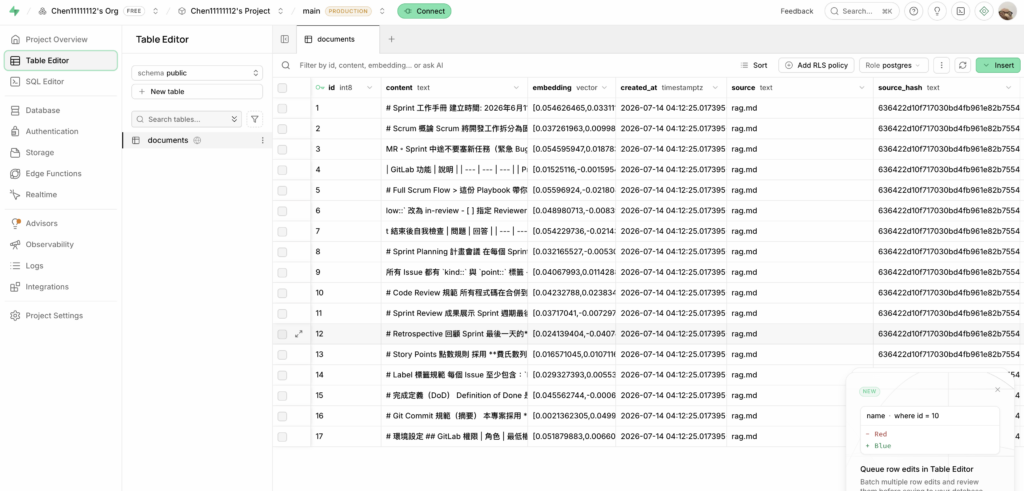
LangChain-rag
npm install @langchain/core @langchain/communityCode language: CSS (css)feature/langchain-rag 分支 執行結果