這裡是暑期研習的大本營, 怕大家迷路, 上課的筆記都整理在這裡了~
從 RNN 到 Agent
授課講義、簡報
Open Web UI
Quick Start
- 下載Docker Desktop
- 去 cmd / terminal 執行以下程式碼 (全部在同一行, 不同段之間要空格)
docker run -d -p 3000:8080
--add-host=host.docker.internal:host-gateway
-v open-webui:/app/backend/data
--name open-webui
--restart always
ghcr.io/open-webui/open-webui:main
全部在同一行的指令
docker run -d -p 3000:8080 --add-host=host.docker.internal:host-gateway
-v open-webui:/app/backend/data --name open-webui --restart always ghcr.io/open-webui/open-webui:main
3. 去 Docker Desktop 檢查是否在running
4. localhost:3000 開啟OpenWebUI
5. NVIDIA NIM 建立API Key
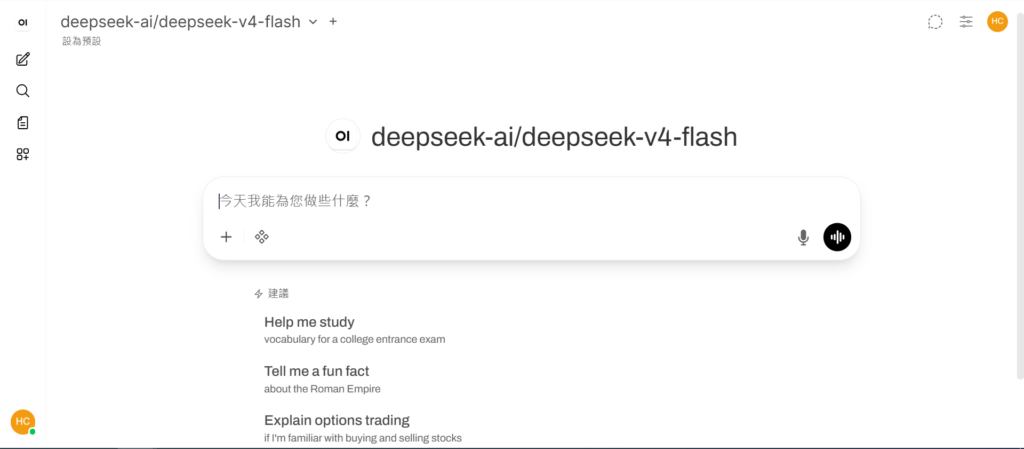
6. 在Open Web UI 新增模型: 管理員控制台/設定/連線/OpenAI/新增連線
7. open web ui community 註冊並登入
8. 搜尋Calculator (官方發布版本)
9. 點擊GET後輸入localhost:3000後Import
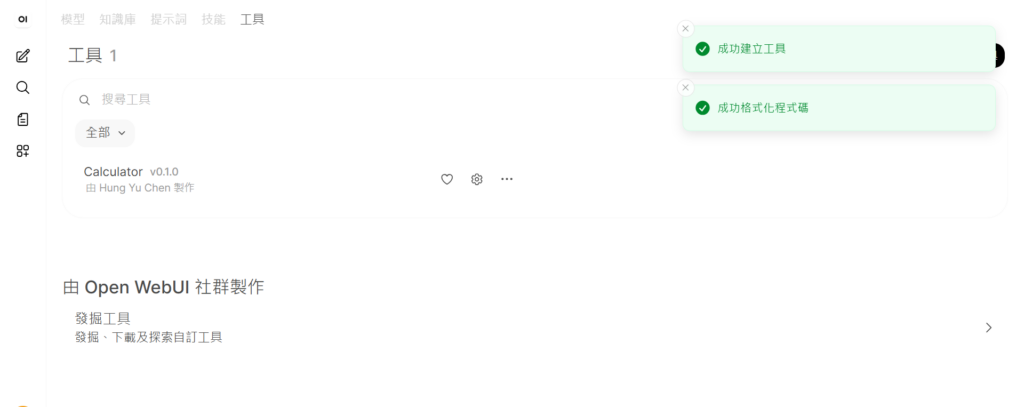
10. 進入localhost:3000/workspace/tools/create ,點擊儲存
Git
[](https://hyc.eshachem.com) 
 
 